Finishing a basement is an excellent way to expand your home’s usable living space, but it presents unique challenges, particularly concerning moisture and fire safety. Choosing the right type of Sheetrock (a brand name for drywall or gypsum board) for basement walls and ceilings is crucial for ensuring durability, preventing mold, and complying with building codes. This guide will help you navigate the best Sheetrock options and proper installation techniques for a successful basement remodel.
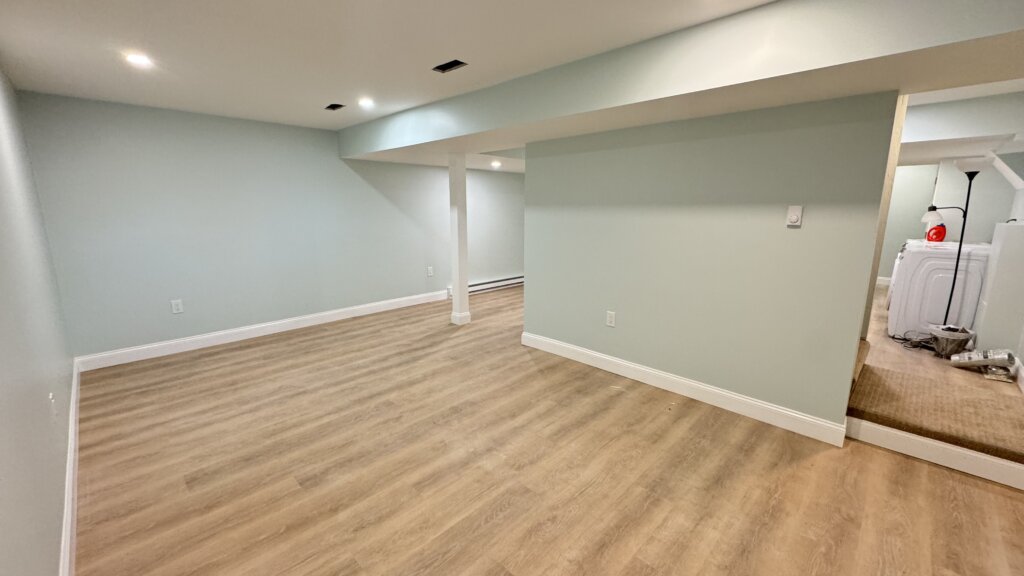
Why moisture resistance matters
Basements are inherently prone to higher humidity levels and potential moisture issues due to their below-grade location. Concrete walls can wick moisture from the soil, and plumbing leaks or even high indoor humidity can contribute to a damp environment.
- Prevents Mold and Mildew: Moisture is the primary catalyst for mold and mildew growth. Standard drywall, with its paper facing and gypsum core, acts like a sponge, readily absorbing moisture and providing a food source for mold. Moisture-resistant Sheetrock is designed to inhibit this growth.
- Avoids Warping and Deterioration: Excess moisture can cause standard drywall to warp, sag, crumble, and deteriorate over time, leading to costly repairs and an unhealthy indoor environment. Moisture-resistant options maintain their structural integrity better in damp conditions.
- Maintains Indoor Air Quality: Mold spores can become airborne, contributing to respiratory issues and allergies. Using mold-resistant Sheetrock helps maintain healthier indoor air quality in your finished basement.
- Long-Term Durability: Investing in moisture-resistant Sheetrock upfront provides a more durable and long-lasting finish, reducing the need for premature replacements.
Green board vs. Purple board: Which is better?
When it comes to moisture-resistant Sheetrock, “Green Board” and “Purple Board” are two common terms you’ll encounter.
- Green Board (Moisture-Resistant Drywall):
- Description: Characterized by its green paper facing, green board has a wax or silicone-treated gypsum core and a water-resistant paper covering.
- Pros: Offers better moisture resistance than standard white drywall. More affordable than purple board.
- Cons: Not fully waterproof; it can still be damaged by direct water exposure or prolonged dampness. The paper facing can still be a food source for mold if consistently wet.
- Best For: Areas with moderate humidity or occasional splashes, such as general basement walls, laundry rooms, or utility areas. It’s a step up from standard drywall but has limitations.
- Purple Board (Mold-Resistant Drywall, e.g., National Gypsum’s XP® Gypsum Board):
- Description: Often identified by its purple paper facing, purple board typically features an enhanced mold-resistant gypsum core and a mold- and moisture-resistant paper or fiberglass mat facing. Some versions use a fiberglass mat instead of paper.
- Pros: Offers superior resistance to both moisture and mold growth compared to green board. It’s often more dent and scratch-resistant. Some types also incorporate fire-resistant properties (Type X).
- Cons: Generally more expensive than green board. Can be heavier and slightly more challenging to install than standard drywall due to its density.
- Best For: Basements with higher humidity levels, areas prone to occasional dampness, or where superior mold protection is desired. It’s a more robust choice for below-grade environments.
Which is Better for Basements? For basement walls and ceilings, Purple Board (or similar fiberglass-faced mold-resistant drywall from other manufacturers) is generally the better and safer choice. Its enhanced mold resistance and improved moisture handling properties provide greater peace of mind in a basement environment.
Fire-resistant sheetrock options
Fire safety is another critical consideration for basement finishing, especially if the basement contains heating systems, water heaters, or is connected to an attached garage.
- Standard Drywall: All drywall has some inherent fire resistance due to its gypsum core, which contains water that slowly vaporizes when exposed to heat, slowing the spread of fire. Standard 1/2-inch drywall can provide up to 30 minutes of fire resistance.
- Type X Drywall (Fire-Rated Drywall):
- Description: Contains special non-combustible glass fibers within its gypsum core that enhance its fire resistance. It is typically 5/8-inch thick.
- Pros: Provides a minimum of 1-hour fire resistance when installed correctly (e.g., on one side of a wall assembly). When applied to both sides of a wood-framed wall, it can provide up to 2 hours of fire resistance.
- Cons: Heavier and denser than standard drywall, making it more challenging to cut and hang.
- Best For: Basements with utility rooms containing furnaces or water heaters, walls shared with an attached garage, or in multi-family dwellings where fire separation is mandated by code.
- Type C Drywall:
- Description: An advanced version of Type X, Type C drywall offers even greater fire resistance, sometimes up to 4 hours, due to additional fire-retardant additives.
- Pros: Superior fire protection.
- Cons: More expensive and less commonly needed for typical residential basement applications.
- Best For: High-risk or specialized structures where maximum fire resistance is required.
Combination Products: Many manufacturers offer Sheetrock that combines both mold/moisture resistance and fire resistance (Type X), often labeled as “Mold Tough Firecode X” or similar. These are ideal for basements, providing comprehensive protection.
Local Codes: Always check with your local building department. They will specify the required fire resistance ratings and drywall types for your basement project based on its layout and your home’s characteristics.
Proper installation techniques for basements
Correct installation is just as important as choosing the right Sheetrock type to ensure long-term performance in a basement.
- Prioritize Moisture Control: Before hanging any Sheetrock, ensure all external water intrusion issues (foundation cracks, grading problems) are resolved. Manage internal humidity with a dehumidifier. Never install Sheetrock over damp or wet surfaces.
- Framing:
- Use pressure-treated lumber for any wood framing that comes into direct contact with the concrete floor (bottom plates).
- Ensure framing is plumb, level, and square.
- Build a stud wall in front of any rigid foam insulation on concrete walls, leaving a small gap (e.g., 1/2 inch) between the foam and the studs to prevent thermal bridging.
- Insulation and Vapor Barrier:
- Install appropriate insulation in wall cavities (e.g., unfaced fiberglass or mineral wool batts in framed walls, or rigid foam/closed-cell spray foam directly on concrete).
- Ensure your vapor barrier strategy is correct for your climate. For basements, the vapor retarder should typically be on the warm-in-winter side of the insulation, often achieved by the rigid foam or closed-cell spray foam directly against the concrete. Avoid trapping moisture with an interior polyethylene sheet.
- Hanging Drywall:
- Walls: Hang Sheetrock horizontally for fewer butt joints (which are harder to finish) or vertically if your ceiling height is 8 feet or less. Ensure joints fall on studs.
- Ceilings: Use a drywall lift for easier and safer installation. Position sheets perpendicular to ceiling joists for maximum strength.
- Screwing: Use drywall screws (not nails) and a screw gun with a dimpler bit to slightly countersink screw heads without breaking the paper. Space screws every 8-12 inches on ceilings and 12-16 inches on walls.
- Gap at Bottom: For walls, leave a 1/2-inch to 3/4-inch gap between the bottom edge of the Sheetrock and the concrete floor. This prevents moisture wicking up into the drywall and allows for air circulation behind baseboards. This gap will be covered by trim.
- Cutting: Use a sharp utility knife and a T-square for straight cuts. A roto-zip or jab saw is useful for cutting around electrical boxes and other penetrations.
- Taping and Finishing:
- Use mold-resistant joint compound and fiberglass mesh tape for all seams and screw heads.
- Apply thin, even coats, feathering out each layer smoothly. Allow each coat to dry completely before sanding and applying the next.
- Use corner bead for all outside corners to create crisp, durable edges.
- Primer and Paint: Apply a high-quality drywall primer to seal the surface, followed by a mold-resistant latex paint.
Cost breakdown and where to buy
The cost of Sheetrock varies by type, thickness, and region. Installation labor is often a significant portion of the total cost.
- Material Costs (per 4×8 foot sheet, approximate for 2025):
- Standard 1/2-inch Drywall: $8 – $20 per sheet ($0.25 – $0.60 per sq ft)
- Green Board (Moisture-Resistant): $12 – $20 per sheet ($0.38 – $0.63 per sq ft)
- Purple Board (Mold-Resistant): $12 – $22 per sheet ($0.38 – $0.69 per sq ft)
- Type X (Fire-Rated, 5/8-inch): $10 – $20 per sheet ($0.31 – $0.63 per sq ft)
- Combined Mold/Fire-Resistant (e.g., Purple XP Fire-Shield, 5/8-inch): $20 – $30+ per sheet ($0.63 – $0.94+ per sq ft)
- Installation Labor Costs (per square foot, approximate):
- Drywall Installation (hanging only): $0.50 – $1.00 per sq ft
- Finishing (taping, mudding, sanding, ready for paint): $1.00 – $2.50 per sq ft (Level 4 or 5 finish)
- Total Installed Cost (materials + labor): $1.50 – $7.00 per sq ft, depending on drywall type, finish level, and complexity.
- Basement Ceiling Drywall Installation (materials + labor): Typically higher, ranging from $2.25 – $3.55 per sq ft due to difficulty.
- Additional Costs: Joint compound, tape, screws, primer, paint, tools (if renting/buying), and potential framing costs.
Where to Buy:
You can purchase various types of Sheetrock and drywall supplies at major home improvement retailers:
- The Home Depot: Offers a wide selection of USG Sheetrock Brand, CertainTeed, and other brands, including moisture-resistant, mold-resistant, and fire-rated options.
- Lowe’s: Carries brands like Gold Bond, ToughRock, and CertainTeed, with various specialized drywall panels for basements.
- Local Lumberyards and Building Supply Stores: Often have competitive pricing and can offer bulk discounts for larger projects, along with expert advice.
Always compare prices and check for bulk discounts, especially for larger basement projects. Remember to factor in delivery costs if you’re not picking up the heavy sheets yourself.
Choosing the right Sheetrock and implementing proper installation techniques are fundamental to creating a durable, healthy, and aesthetically pleasing finished basement. By prioritizing moisture and fire resistance, you’ll ensure your investment stands the test of time.
Ready to finish your basement with the best Sheetrock options? Greater Boston Contractors specializes in professional basement finishing, ensuring your walls and ceilings are installed with precision, using the right materials for lasting quality and peace of mind. Contact us today for a free consultation and let’s bring your basement vision to life!