Building a sturdy wall frame is a fundamental step in any construction or renovation project, laying the groundwork for the entire structure. Whether you’re adding a new room, finishing a basement, or simply dividing an open space, understanding the principles of wall framing is essential for a safe and successful outcome. This guide will walk you through the process, from selecting the right materials to securing your newly framed wall, ensuring you achieve professional results.
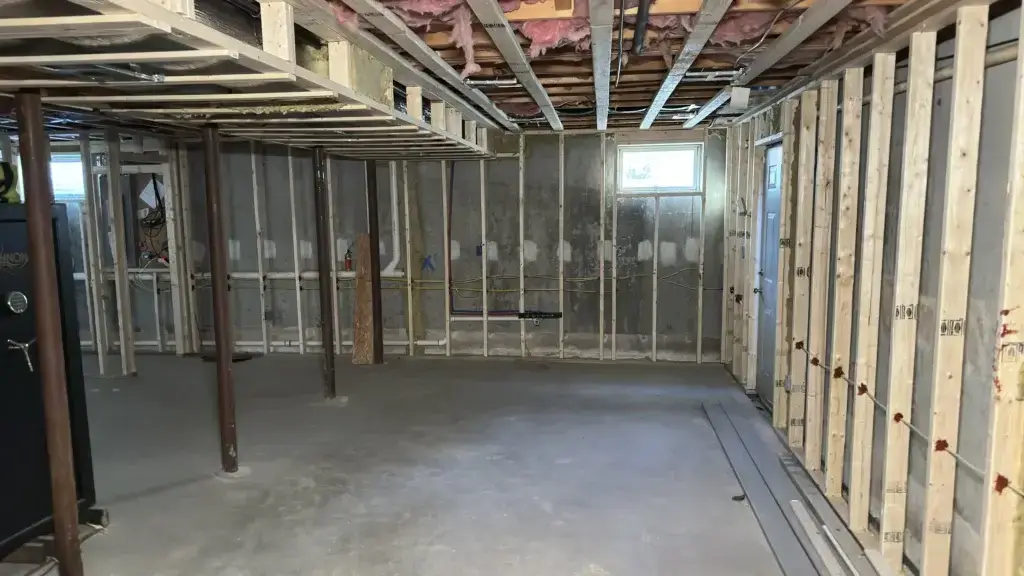
Tools and materials needed for wall framing
Before you begin, gather all necessary tools and materials to ensure a smooth and efficient framing process.
Tools:
- Measuring Tape: For accurate measurements.
- Pencil/Marker: For marking cuts and layouts.
- Chalk Line: To mark long, straight lines on floors and ceilings.
- Circular Saw or Miter Saw: For cutting lumber to size. A miter saw offers more precise angle cuts.
- Hammer or Framing Nailer: A nailer is highly recommended for speed and efficiency.
- Level (4 ft. and 6 ft. recommended): Essential for ensuring vertical and horizontal accuracy.
- Speed Square: For quick, accurate 90-degree angles.
- Safety Glasses and Gloves: Always prioritize safety.
Materials:
- Lumber (2x4s or 2x6s): Standard lumber for studs, plates, and headers. Choose straight, dry lumber.
- Studs: Vertical framing members.
- Top Plate: Horizontal member at the top of the wall.
- Bottom Plate (Sole Plate): Horizontal member at the bottom of the wall.
- Headers: Support beams above openings (doors, windows).
- Sill Plates: Horizontal members below window openings.
- Cripples/Jacks: Short studs supporting headers or sill plates.
- Framing Nails or Screws: Specific for framing applications (e.g., 3-inch common nails or structural screws).
- Shims: For leveling the bottom plate if the floor is uneven.
Step 1 – Measuring and marking layouts
Accurate layout is critical for a straight and plumb wall.
- Determine Wall Location: Use your measuring tape and pencil to mark the exact location of your new wall on the subfloor.
- Mark Top Plate Location: Use a plumb bob or a long level to transfer these marks directly onto the ceiling joists or blocking where the top plate will sit.
- Outline Openings: Mark the locations and widths of any door or window openings on both the floor and ceiling lines. Remember to account for the thickness of the framing lumber and the rough opening dimensions for doors and windows.
- Stud Spacing: Mark the layout for your studs. Typically, studs are spaced 16 inches or 24 inches on center (OC). Ensure that the edges of your drywall or other sheathing will land on the center of a stud for proper fastening.
Step 2 – Cutting and assembling studs & plates
With your layout marked, it’s time to cut your lumber and assemble the wall frame on the floor.
- Cut Plates: Measure and cut your top and bottom plates to the exact length of your wall. Ensure they are perfectly straight.
- Cut Studs: Measure the distance between your top and bottom plates (this is your wall height). Cut all common studs to this exact length.
- Cut Opening Components: Cut headers, sills, and cripple/jack studs according to your marked openings. Remember that headers are typically installed flat, so account for their depth.
- Assemble on Floor: Lay out the top and bottom plates on the subfloor, parallel to each other and at the correct stud spacing. Position your common studs, as well as all components for door and window openings, between the plates.
- Fasten Components: Use your framing nailer or hammer to nail the studs to the plates. For doors and windows, ensure headers, sills, and cripple/jack studs are securely fastened to create a robust opening. Double-check all measurements before fastening permanently.
Step 3 – Securing the wall frame in place
Once the wall frame is assembled on the floor, it’s ready to be raised and secured.
- Raise the Wall: With the help of another person (or more, depending on the wall’s length and weight), carefully tilt the assembled wall frame up into its vertical position.
- Position and Align: Slide the bottom plate into alignment with your floor layout marks. Ensure the top plate is aligned with the ceiling marks.
- Plumb and Level: Use a 4-foot or 6-foot level to check that the wall is perfectly plumb (vertically straight) and level (horizontally straight). Adjust as needed by shimming under the bottom plate or temporarily bracing the top.
- Secure Bottom Plate: Nail or screw the bottom plate securely to the subfloor, ensuring it’s still aligned with your marks.
- Secure Top Plate: Nail or screw the top plate into the ceiling joists or blocking. If the top plate does not directly align with joists, you may need to add additional blocking between joists for secure fastening.
Common mistakes to avoid when framing walls
Avoiding these common errors will save you time and ensure a structurally sound wall.
- Inaccurate Measurements: “Measure twice, cut once” is crucial in framing. Small errors can compound and lead to crooked walls or ill-fitting drywall.
- Using Warped Lumber: Always select straight, unwarped lumber. Even slightly bowed studs can make a wall difficult to finish and compromise its integrity.
- Incorrect Stud Spacing: Inconsistent or incorrect stud spacing can make attaching drywall or other finishes difficult and lead to weak spots in the wall. Adhere to 16-inch or 24-inch on-center spacing.
- Ignoring Local Building Codes: Building codes vary by region. Always consult your local building department to ensure your framing meets all necessary structural and safety requirements. This includes specific requirements for headers, fire blocking, and bracing.
- Lack of Proper Bracing: Before the wall is fully secured, temporary bracing is essential to keep it plumb and stable, especially in taller or longer walls.
Building a wall frame can be a rewarding project, but it requires precision and attention to detail. By following these steps and avoiding common pitfalls, you can create a strong, straight, and code-compliant wall that forms the foundation of your next great space.
Need expert help with your next construction project or want to ensure your framing is done right? Contact Greater Boston Contractors today for professional and reliable service!