Building your own kitchen pantry allows you to tailor the storage solution to your exact needs, from accommodating large appliance mixers to organizing specific baking ingredients. This guide will walk you through the essential planning, construction, and organization phases to create a durable, highly efficient, and personalized storage area.
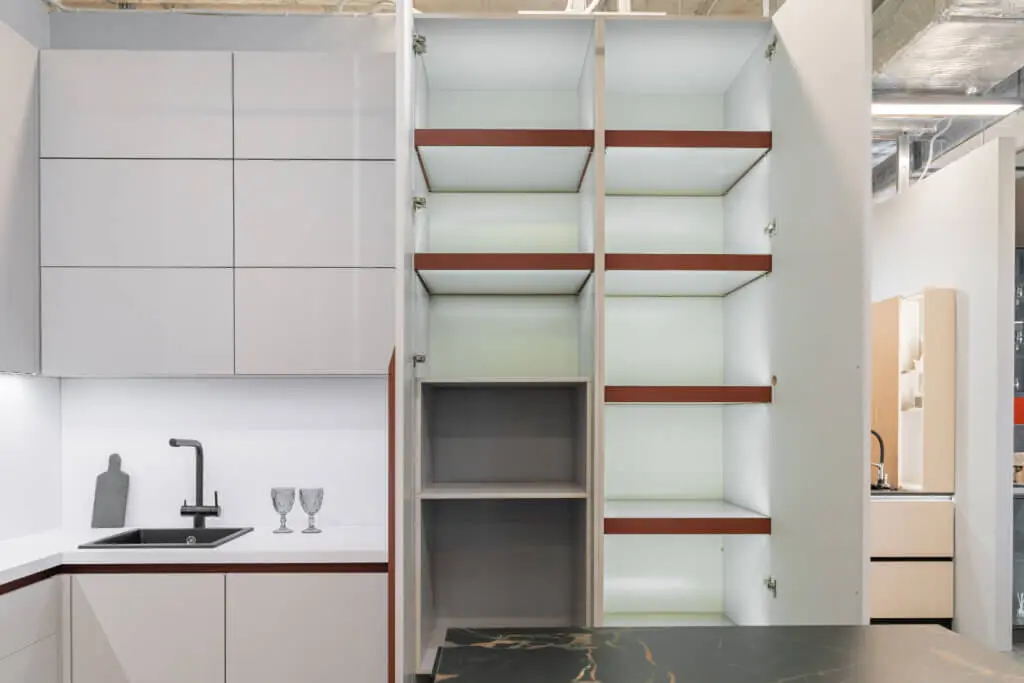
Why a DIY Pantry Is Worth It
A custom-built pantry offers advantages that off-the-shelf solutions simply cannot match, most notably in cost and functionality.
Save Money and Customize Your Layout
Professional, built-in kitchen cabinetry is expensive. By tackling the construction yourself, you can dramatically reduce costs, often saving 50% or more on materials and labor compared to custom installations.
- Precision Customization: Standard cabinets and shelving often leave frustrating gaps (e.g., between shelves or around ductwork). DIY allows you to design every shelf to the ideal height and depth, maximizing every cubic inch of available space.
- Example: You can create extra-tall sections for cereal boxes, or shallow shelves specifically for small spice jars, preventing items from getting lost behind one another.
- Design Matching: You have the freedom to select materials and paint colors that perfectly match your existing kitchen millwork and trim, resulting in a seamless, high-end look.
Add Functionality to Unused Corners
The best DIY pantry projects transform awkward or underutilized areas—like deep closets, dead-end walls, or the space adjacent to a refrigerator—into functional storage powerhouses.
- Closet Conversion: A standard coat or linen closet near the kitchen is prime real estate for pantry shelving. Replacing standard closet rods with deep, sturdy shelves immediately doubles or triples your storage capacity.
- Shallow Wall Storage: Even if you only have 6 to 10 inches of depth to spare, you can build a full-height, shallow pantry with shelving ideal for spices, cans, and narrow bottles. This “found” space is invaluable in small kitchens.
Planning Your Kitchen Pantry
The planning phase is the most critical step. Precise measurements and smart material choices dictate the success and longevity of your finished pantry.
Measure Space and Plan Shelving Height
Before buying any materials, create a detailed plan, whether it’s for a walk-in, built-in cabinet, or closet conversion.
- Measure and Mark: Measure the width, height, and depth of the space. Mark the studs on the back wall, as you will need these for securing ledger boards (supports).
- Inventory Your Contents: Before placing shelves, organize and measure the tallest items you plan to store: cereal boxes, stand mixers, drink bottles, etc.
- Determine Shelf Heights:
- Bottom Shelves (Heavy/Bulky Items): Allocate 18–24 inches for appliances, bulk items (like dog food or large bags of flour), or deep pull-out drawers.
- Middle Shelves (Most Used Items): Allocate 12–14 inches for standard cans, jars, and small containers. These should be at eye-level and easy to reach.
- Top Shelves (Infrequent Items): Allocate 10–12 inches for overflow, seasonal items, or light containers.
- Consider Adjustable Shelving: If you’re unsure about future needs, use a metal track and bracket system (available at any home improvement store) to allow for easy shelf height adjustments later.
Choose Durable and Easy-to-Clean Materials
The kitchen pantry requires materials that can handle heavy loads, moisture, and frequent spills.
| Material | Best Use | Pros | Cons |
| Plywood (3/4-inch Grade) | Shelf Construction & Cabinet Boxes | Very strong, resists sagging, stable. | Higher cost, requires finishing (painting/sealing). |
| MDF (Medium-Density Fiberboard) | Shelf Liner or Door Panels | Smooth finish for painting, affordable. | Heavy, not ideal for load-bearing shelves, vulnerable to moisture if unsealed. |
| Melamine-Coated Particle Board | Finished Shelves | Extremely durable, easy to wipe clean, moisture resistant. | Edges must be sealed with edge banding to prevent swelling. |
Pro Tip: Always use 3/4-inch thick material for shelves to prevent sagging, especially if the shelves span more than 30 inches wide.
Step-by-Step Building Guide
We recommend using the cleat system (also known as ledger boards) for the strongest, most stable shelving installation.
Install Shelves and Supports
- Cut Cleats (Supports): Cut 1×2 or 1×3 lumber into strips that will run the length of your back and side walls, matching the desired depth of your shelf. These are the cleats that the shelf will rest on.
- Mark Level Lines: Use a laser level or a long spirit level to mark precisely level lines for the bottom of each shelf location on the back and side walls.
- Install Cleats: Using a stud finder, locate the wall studs. Secure the cleats directly into the studs with 2.5-inch construction screws. For walls without studs, use heavy-duty toggle or expanding anchors designed for the load capacity you need (dry goods are heavy!).
- Cut and Place Shelves: Cut your 3/4-inch shelf material to size. Test the fit. The shelves should sit snugly on the cleats, fully supported by the three sides (back and two walls).
- Secure Shelves: Screw down into the cleats from the top of the shelf to fully lock them in place. This creates an exceptionally strong, rigid structure.
Paint or Finish Surfaces for a Cohesive Look
A good finish protects your work and makes cleanup easy.
- Prep: Lightly sand all exposed edges and surfaces (especially MDF). Vacuum up dust and wipe down the surfaces with a damp cloth.
- Prime: Apply a high-quality primer. If you used MDF, use a shellac-based primer on the cut edges to seal them and prevent swelling.
- Paint: Apply two coats of semi-gloss or high-gloss interior enamel paint. The higher the sheen, the easier the surface will be to wipe clean of food residue.
Organization Tips
Once the structure is built, the right organization system makes the pantry truly functional.
Label Containers and Use Clear Jars
Visibility and consistency are the two keys to maintaining an organized pantry.
- Decant Dry Goods: Transfer flour, sugar, rice, pasta, and cereals from their original, bulky packaging into stackable, airtight containers (preferably clear acrylic or glass). This saves space and keeps pests out.
- Consistency is Key: Use the same style of container for categories (e.g., all baking supplies in square containers, all pasta in tall cylinders). This creates visual order and maximizes stacking stability.
- Mandatory Labeling: Label containers clearly, ideally on the lid and the front. Include the item name and, for perishables like flour, the expiration date or purchase date.
Add Baskets or Pull-Out Bins for Versatility
Baskets and bins manage items that can’t be neatly stacked.
- Wire Baskets: Excellent for items you need to see but that require flexibility, such as bags of chips, potatoes, or onions.
- Plastic Bins/Totes: Ideal for creating “sub-categories.” Use one bin for “Breakfast Items,” another for “Baking Extras,” and a third for “Emergency Dinner Cans.” When you need those items, you simply pull out the entire bin.
- Door Storage: If you have a hinged door, install wire racks or shallow shelves on the back of the door to store small items like spices, oils, or plastic wrap boxes.
FAQs
How much does it cost to build a pantry yourself?
The cost is highly dependent on the size and the materials chosen, but a typical DIY pantry project offers huge savings:
- Material Cost Range: For a mid-sized walk-in closet conversion (using painted plywood and lumber): $200 to $600.
- Premium Option: Using high-end, pre-finished melamine or adding full pull-out drawer slides can push the cost up to $800 to $1,200.
- Savings: Compare this to the $2,500 to $5,000+ cost of professional custom cabinet installation for a comparable space.
Can I turn a closet into a kitchen pantry?
Yes, transforming an existing closet is one of the most common and effective DIY projects. However, you must consider the following for success:
- Door Access: If the existing closet has a standard hinged door, consider replacing it with double French doors or a bi-fold door. This maximizes the opening width, making it easier to see and access the interior shelves.
- Lighting: Closets are dark. Install a battery-operated LED strip light or a pressure-switch light that turns on automatically when the door opens.
- Ventilation: If you plan to store onions, potatoes, or other produce that needs airflow, ensure the pantry has ventilation, perhaps by leaving a slight gap between the door and the floor or using wire baskets instead of solid bins.
Ready to start sawing and screwing? If you have specific dimensions or an unusual corner you’re trying to convert, let me know the details! I can help you draft a precise material list or troubleshoot your shelf layout.