A kitchen island is the workhorse of the modern kitchen—a central hub for cooking, socializing, and storage. While custom-built islands can cost thousands, a DIY approach allows you to achieve the same high functionality and aesthetic appeal using repurposed materials and budget-friendly methods. This guide covers popular concepts and essential steps to help you build the perfect island for your home.
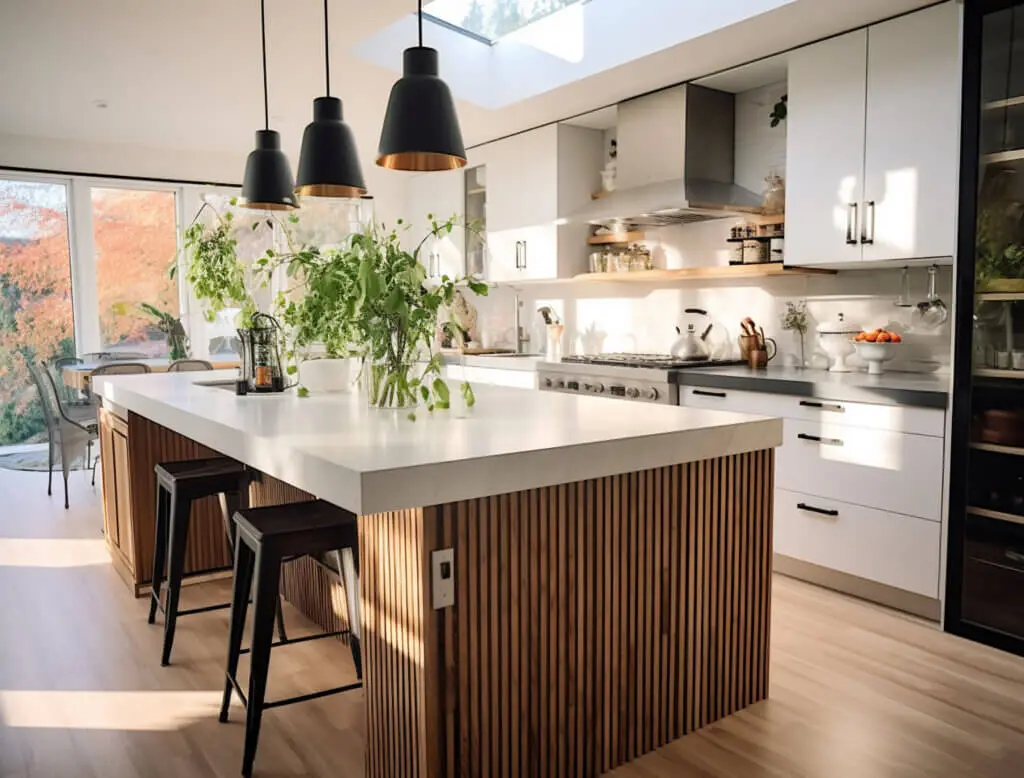
Why Add a Kitchen Island
The benefits of installing an island extend far beyond extra surface area; they fundamentally change how you interact with your kitchen space.
Extra Prep Space and Storage
A well-designed island provides crucial, centrally located real estate for all kitchen activities.
- Enhanced Workflow: Adding a counter surface in the middle of your kitchen creates a highly efficient workflow, offering additional space for chopping, mixing, and plating meals.
- Storage Solution: Islands can house open shelving for cookbooks and display items, closed cabinets for appliances, or deep drawers for pots and pans, alleviating clutter in your main kitchen cabinets.
Visual Focal Point for Open Layouts
In modern homes with open-concept floor plans, the kitchen island serves as a primary design anchor, often being the first element guests see.
- Defined Zoning: The island naturally separates the cooking zone from the living or dining area, providing structure without walls.
- Design Opportunity: It offers a chance to introduce a contrasting color, unique texture, or high-end material (like a butcher block top) that elevates the entire room’s aesthetic.
Popular DIY Kitchen Island Concepts
The most successful DIY islands utilize affordable, repurposed bases combined with custom tops.
Repurposed Furniture or Cabinets
This is the most popular and straightforward method, offering a sturdy base with built-in storage.
- Filing Cabinets: Using two or three old metal or wood filing cabinets, stripping and painting them, and topping them with a counter provides instant storage drawers and a modern industrial look.
- Base Cabinets: Purchase inexpensive, stock base cabinets (e.g., from a home improvement store) or source old kitchen cabinets. Secure them back-to-back or in an ‘L’ shape and then affix a countertop to the top. This provides a professional, built-in feel for a fraction of the cost of custom cabinetry.
Rolling Islands for Small Kitchens
If space is at a premium or your floor plan needs maximum flexibility, a rolling island (or kitchen cart) is the perfect solution.
- Mobility: Adding heavy-duty locking casters to any base (like a repurposed dresser or cabinet) allows you to easily move the island out of the way when you need more floor space or closer to the dining table for serving.
- Accessibility: This concept is ideal for rentals or temporary solutions where permanent structures are not permitted or practical.
Butcher Block Tops and Open Shelving
Butcher block is the DIY gold standard for countertops—it’s affordable, easy to cut, and provides a warm, classic look.
- Construction: Build a simple frame from 2×4 lumber and cover it with pre-cut wood panels. Skip the expensive doors and drawers and add simple shelves for an airy, accessible look.
- Top Finish: Butcher block (often available in standard door or table sizes) can be cut to size and sealed with food-grade mineral oil for a durable, beautiful prep surface.
Step-by-Step Building Tips
Before you cut the first piece of wood, careful planning is the key to a safe and functional island.
Measure Space and Layout
Safety and flow are determined by proper clearance. The golden rule for kitchen clearance is crucial.
- Clearance: You must maintain a minimum of 36 to 42 inches (91 cm to 107 cm) of clear pathway around all sides of your island. If your kitchen is too narrow, an island may obstruct traffic and violate code requirements.
- Height: Ensure the island’s counter height matches your existing counters (typically 36 inches/91 cm) if it’s strictly for prep, or raise it to 42 inches (107 cm) if you plan to use it strictly for bar seating.
Choose Materials and Paint Finishes
The finish will determine the durability and aesthetic of your island.
- Priming is Key: Always use a bonding primer on repurposed furniture or cabinets before painting to ensure the paint adheres properly and resists chipping from daily kitchen wear and tear.
- Countertop Sealing: If using wood, apply multiple coats of mineral oil or a polyurethane finish. For laminate or tile tops, ensure grout or seams are properly sealed against water penetration.
Add Lighting and Bar Seating Options
These finishing touches transform a functional box into a central living area.
- Pendant Lighting: If your island is permanent, installing pendant lights above it is a must. Ensure the light fixtures hang about 30 to 36 inches above the countertop.
- Overhang: If you want bar seating, your countertop needs an overhang of at least 10 to 12 inches to comfortably accommodate stools and knees. You may need to add hidden brackets (corbels) beneath the counter for support if the overhang is substantial.
When to Call a Contractor
While the structural assembly of an island is highly DIY-friendly, integrating utilities is not and should always be handled by licensed professionals.
For Electrical or Plumbing Connections
If your DIY island includes a new sink, dishwasher, garbage disposal, or an electrical outlet for appliances (like a stand mixer), you must hire a licensed electrician and/or plumber.
- Safety and Code: Running new water lines, drainage, or electrical circuits requires specific permits and must comply with local building and fire safety codes. Faulty DIY wiring or plumbing is a serious fire and water hazard.
- Gas Lines: If your plan includes installing a cooktop on the island, a licensed gas fitter is required for the installation of the gas line.
FAQs
How much does a DIY kitchen island cost?
The cost varies widely based on your base and countertop choice:
- Budget (Repurposed): Using a reclaimed dresser and a stock butcher block top can cost as little as $200 to $500 for materials, paint, and hardware.
- Mid-Range (Cabinets): Building from new, stock base cabinets and an affordable laminate or mid-grade butcher block top will typically cost between $600 and $1,200.
- High-End DIY: If you opt for custom cabinets and a stone remnant countertop (granite or quartz), the cost can quickly climb to $1,500 to $3,000, still significantly less than a custom build.
What materials are easiest to work with?
- For the Base: Stock particleboard or plywood cabinets are the easiest. They come pre-built (or in easy-to-assemble kits), are structurally sound, and are already sized correctly for standard kitchen applications.
- For the Top: Butcher block (especially birch or maple) is the most DIY-friendly countertop material. It can be cut with standard woodworking tools, sanded smooth, and finished with oil or polyurethane without the need for specialized stone fabrication equipment.