A staircase is more than just a functional element; it’s often a central feature of your home’s interior, significantly impacting its aesthetic and flow. Over time, stairs can show wear and tear, becoming dated or damaged. A full professional renovation can be costly, but many common staircase issues can be addressed with a do-it-yourself approach, offering an affordable way to dramatically update your home’s look. This guide explores when a DIY project is feasible, the tools and materials you’ll need, a step-by-step renovation process, common mistakes to avoid, and when it’s best to call in a professional.
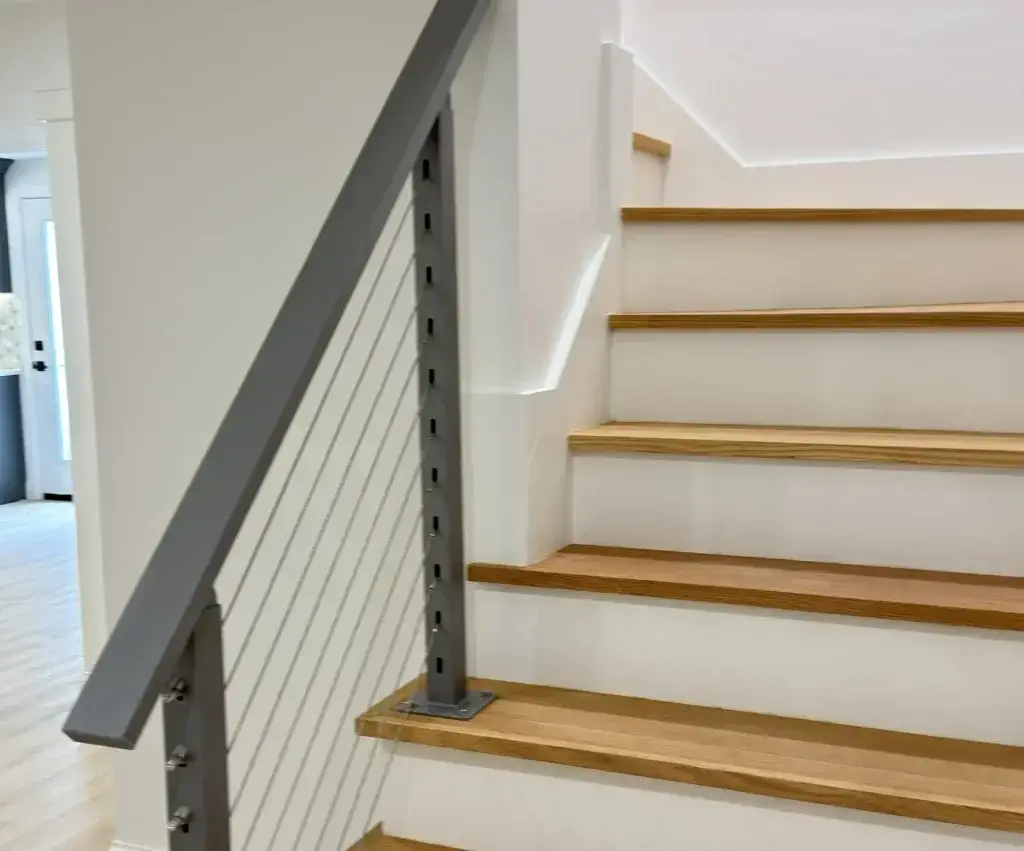
When DIY staircase renovation is possible
Undertaking a DIY staircase renovation is most suitable for cosmetic upgrades and minor repairs when the underlying structure is sound.
- Cosmetic Updates: If your staircase is structurally stable but looks worn, outdated, or simply doesn’t match your home’s current style, a DIY refresh can work wonders. This includes painting, staining, replacing balusters, or adding new tread caps.
- Minor Repairs: Projects like fixing loose treads, repairing small cracks or chips, or replacing a single damaged baluster are often manageable for a confident DIYer.
- Surface-Level Enhancements: Adding a runner, applying a fresh coat of paint to risers, or refinishing handrails fall squarely into the DIY category.
- Good Structural Condition: Before starting any DIY work, thoroughly inspect your staircase. If there are no signs of structural damage, excessive squeaking, significant wobbling, or rot, you’re likely in a good position for a DIY project. Any signs of major structural compromise immediately warrant professional assessment.
Tools and materials needed for stair upgrades
Having the right tools and materials on hand will make your DIY staircase renovation smoother and more efficient.
Essential tools:
- Safety Gear: Gloves, safety glasses, dust mask.
- Sanding Equipment: Orbital sander, detail sander, sanding blocks, various grits of sandpaper (60-grit coarse to 220-grit fine).
- Cleaning Supplies: Shop vacuum, tack cloth, all-purpose cleaner.
- Pry Bar and Hammer: For removing old carpet, trim, or loose components.
- Measuring Tape and Pencil: For accurate measurements and marking.
- Utility Knife: For cutting carpet or other materials.
- Wood Filler/Putty: For repairing dents, holes, and imperfections.
- Caulk Gun and Caulk: For sealing gaps and creating clean lines.
- Brushes and Rollers: High-quality brushes for detailed work, foam rollers for smooth finishes on larger flat surfaces.
- Paint Scraper: For removing old, peeling paint.
- Drill/Driver: For fastening new elements if required.
Common materials:
- Paint: High-quality, durable paint specifically designed for floors and trim, in your chosen color.
- Wood Stain/Varnish: If you’re opting for a natural wood look, choose a high-traffic, durable stain and clear coat.
- New Treads/Risers: If replacing, ensure they are compatible with your existing staircase dimensions.
- Balusters and Newel Posts: If replacing, match the style and material to your aesthetic.
- Adhesive: Strong construction adhesive for securing new treads or caps.
- Primer: Essential for preparing surfaces for paint, especially if changing colors significantly or painting over raw wood.
- Wood Conditioner: For even stain application on bare wood.
- Painter’s Tape: For creating clean edges and protecting adjacent surfaces.
- Drop Cloths: To protect floors and furniture from paint and dust.
Step-by-step DIY staircase renovation process
Follow these steps for a successful DIY staircase refresh.
- Plan Your Design: Decide on your desired look. Will you paint the risers and stain the treads? Replace balusters? Add a runner? Gather inspiration and finalize your material choices.
- Clear the Area: Remove any existing carpet, decor, or obstacles from the staircase. Lay down drop cloths to protect surrounding floors.
- Inspect and Repair: Thoroughly inspect each step, riser, baluster, and handrail for damage. Tighten any loose components. Fill holes, cracks, and dents with wood filler, allowing it to dry completely and sanding smooth.
- Clean and Prepare Surfaces: This is a crucial step!
- Strip/Sand: If there’s old paint or varnish, you’ll need to strip or heavily sand to remove it. For a fresh start, sand all surfaces (treads, risers, balusters, handrails) with progressively finer grits of sandpaper. Start with 60-80 grit for rough surfaces, then move to 120-150 grit, and finish with 180-220 grit for a smooth finish.
- Clean: Vacuum thoroughly to remove all dust. Wipe down surfaces with a tack cloth or a damp cloth followed by a dry one to ensure no dust remains.
- Apply Primer: If painting, apply a high-quality primer to all surfaces. This ensures better paint adhesion and a more durable finish. Allow it to dry completely according to manufacturer instructions.
- Paint or Stain:
- Painting: Apply thin, even coats of your chosen paint, allowing each coat to dry fully before applying the next. Start with the risers, then the balusters, and finally the treads. Use painter’s tape for crisp lines.
- Staining: Apply wood conditioner if staining bare wood, then apply stain according to product directions. Wipe off excess stain. Once dry, apply multiple coats of a durable clear topcoat (e.g., polyurethane) for protection, sanding lightly between coats with fine-grit sandpaper.
- Install New Elements (If Applicable): If you’re replacing balusters, newel posts, or adding tread caps, follow manufacturer instructions for installation. Use strong adhesive and fasteners as needed.
- Caulk and Finish: Apply a thin bead of paintable caulk to any gaps or seams for a clean, professional look. Once dry, touch up paint as needed.
- Final Cleaning and Reveal: Once all finishes are dry and cured, remove drop cloths and painter’s tape. Give the area a final clean.
Common mistakes to avoid in stair projects
Avoiding these common pitfalls can save you time, money, and frustration.
- Skipping Proper Preparation: Inadequate sanding, not filling holes, or failing to clean dust before painting will lead to a poor, uneven, and less durable finish. Prep work is 70% of the job!
- Using the Wrong Materials: Regular wall paint won’t hold up to the foot traffic on stairs. Invest in durable, high-quality floor or trim paint, or a heavy-duty clear coat for stained surfaces.
- Ignoring Structural Issues: Attempting a DIY aesthetic update on a structurally compromised staircase is dangerous and will only mask the problem. Always address structural integrity first, even if it means calling a pro.
- Underestimating Time and Effort: Staircase renovation is meticulous and time-consuming, especially with sanding and multiple coats of paint/stain. Plan for several days, possibly even a week, of work depending on the project scope.
- Painting Yourself into a Corner: Literally! Plan your painting/staining strategy so you don’t get trapped at the top or bottom of the stairs before the finish is dry. Consider doing alternate steps or leaving one path open.
- Forgetting Safety: Working on stairs can be risky. Ensure you have good lighting, stable ladders, and wear appropriate safety gear. Block off the staircase to prevent family members or pets from using it while wet.
- Applying Too Much Product: Thick coats of paint or stain take longer to dry, can sag, and may lead to an uneven finish. Multiple thin coats are always better.
When to call a professional for stair renovation
While many aspects of staircase renovation are DIY-friendly, certain situations demand the expertise of a professional.
- Structural Damage: If you notice significant wobbling, cracking in the stringers (the sides that support the treads), rot, or loose foundational elements, a professional carpenter or contractor is essential.
- Code Compliance Issues: If your staircase doesn’t meet current building codes (e.g., inadequate rise/run, baluster spacing, handrail height), a professional can ensure renovations bring it up to standard. This is especially critical if you’re making major modifications.
- Relocating or Reshaping the Staircase: Any project involving altering the footprint or configuration of the staircase requires professional design and construction expertise.
- Complex Custom Designs: If you envision intricate custom newel posts, curved handrails, or unique architectural features that require specialized tools and skills, a professional woodworker or stair builder is the best choice.
- Lead Paint Abatement: If your home was built before 1978, there’s a possibility of lead paint. Disturbing lead paint requires specific safety protocols and, often, professional abatement to protect your health.
- Lack of Time or Skill: Be honest about your own capabilities and available time. If you’re unsure about any step or simply don’t have the bandwidth, hiring a professional will ensure a high-quality and timely outcome.
A DIY staircase renovation can be a rewarding project that revitalizes your home’s interior. With careful planning, the right tools, and a commitment to detail, you can achieve impressive results. However, always prioritize safety and structural integrity.
Ready to give your staircase a stunning new look, or need expert advice on a more complex renovation? Contact us today for a consultation to discuss your vision and ensure a beautiful, safe, and professional upgrade for your home’s staircase!