Adding a roof to your outdoor kitchen transforms a simple BBQ station into a year-round living space. In the United States, where outdoor entertaining has become a staple of residential design, a well-engineered roof structure protects your high-end stainless steel appliances, increases property value, and provides essential shade and weather protection.
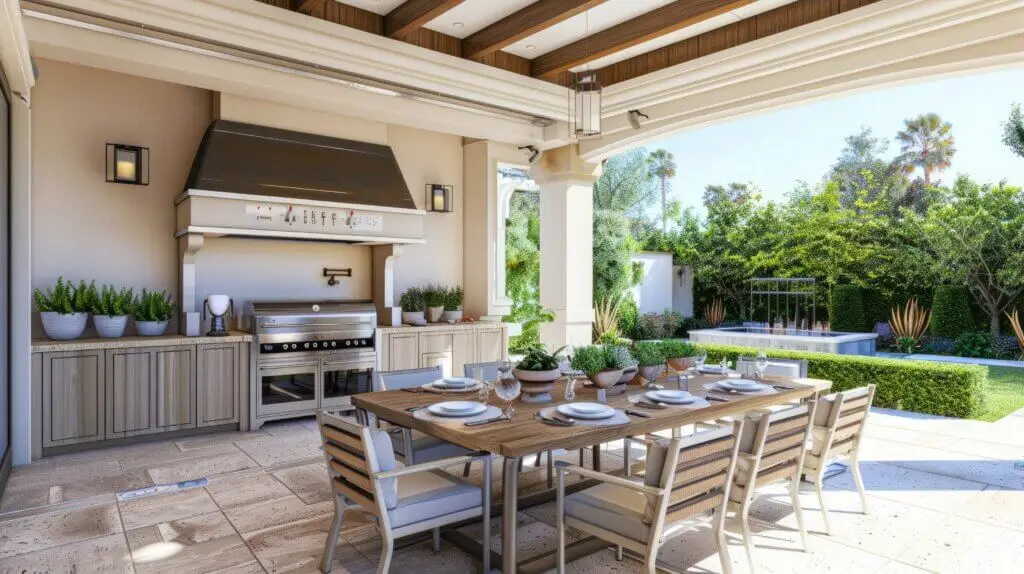
Quick Answer: Proper Roof Design Prevents Heat and Smoke Issues
The primary challenge of roofing an outdoor kitchen is managing the byproduct of cooking: extreme heat and grease-laden smoke. A roof structure must be designed with adequate height and ventilation to ensure that heat does not get trapped against the ceiling, which can lead to structural damage or, in severe cases, fire hazards.
Why ventilation is critical
When you place a roof over a grill, you are effectively creating an indoor environment outdoors. Without proper airflow, smoke will “mushroom” under the ceiling, staining your wood or tongue-and-groove finishes and making the space uncomfortable for guests.
- The Solution: Most U.S. building codes require the installation of a high-CFM (Cubic Feet per Minute) outdoor-rated vent hood if the grill is placed under a solid roof. Additionally, the ceiling height should ideally be at least 10 to 12 feet to allow for natural heat dissipation.
Roof Structure Options
The architectural style of your roof should complement your home while providing the necessary coverage for your kitchen layout.
Gable roofs
A gable roof features two sloping sides that meet at a ridge, creating a triangular shape.
- Pros: This is the most popular choice in the U.S. because it allows for a vaulted ceiling. The high interior volume is excellent for heat management and gives the space a grand, airy feel.
- Aesthetics: It often mimics the primary roofline of the main house, creating a seamless look.
Shed-style roofs
A shed roof (or lean-to) consists of a single sloping surface.
- Pros: It is generally simpler and more cost-effective to build than a gable roof. It is particularly effective for outdoor kitchens that are attached directly to the side of the home.
- Aesthetics: This style works exceptionally well with modern or mid-century contemporary architecture.
Flat or low-slope roofs
While technically “low-slope” to allow for water drainage, these roofs provide a minimalist profile.
- Pros: Ideal for maintaining views from second-story windows of the main house.
- Considerations: These require a robust waterproof membrane (like TPO or EPDM) and careful gutter integration to prevent water from pooling over the kitchen equipment.
Integrating the Roof With the Home
Deciding how the structure sits on your property affects both the budget and the permitting process.
Attached vs freestanding structures
- Attached: The roof is physically tied into the house’s existing rafters or ledger board. This creates a cohesive “indoor-outdoor” flow. However, it requires strict adherence to local building codes regarding structural loads and fire separation.
- Freestanding: A pavilion or “cabana” style structure sits independently on four or more posts. This offers more flexibility in placement (e.g., near a pool) and often avoids some of the complex engineering requirements of altering a home’s primary roofline.
Matching architectural style
To maximize home value, the outdoor structure should look like it was built with the original house. This involves:
- Roofing Materials: Matching the asphalt shingles, metal panels, or clay tiles of the main residence.
- Column Design: Using similar siding, stone veneer, or trim details on the support pillars.
- Lighting: Integrating recessed LED cans or ceiling fans that match the interior’s aesthetic.
Budget & Build Timeline
An outdoor kitchen with a roof is a significant investment, often comparable to a small home addition.
Cost drivers
- Structural Engineering: Adding a roof means calculating wind and snow loads. In many states, this requires stamped plans from a structural engineer.
- Utilities: Running gas, electricity (for lighting and outlets), and water/drainage to an outdoor island significantly increases labor costs.
- Materials: Premium finishes like cedar ceilings, stone pillars, and granite countertops are the primary drivers of the final price tag.
Typical project phases
- Design & Permitting (4–8 weeks): Developing blueprints and obtaining city approvals.
- Foundation & Utilities (2 weeks): Pouring the concrete pad and “roughing in” the gas and electrical lines.
- Framing (2 weeks): Erecting the posts and the roof skeleton.
- Finishing (3–5 weeks): Installing the roof deck, shingles, ceiling finishes, cabinetry, and finally, the appliances.
FAQs
Can I add a roof to an existing outdoor kitchen?
Yes, but it is complex. You must ensure the existing foundation (usually a concrete slab) can support the “point loads” of the new roof’s pillars. Many standard 4-inch patios are not thick enough to support a roof structure and may require footings to be poured.
What roof slope is best for outdoor kitchens?
A minimum pitch of 3:12 (3 inches of rise for every 12 inches of run) is standard for shingle roofs to ensure water runoff. For better heat dissipation, a steeper pitch (6:12 or higher) is often preferred for outdoor cooking areas.
Do roofed kitchens increase home value?
In the current U.S. real estate market, high-quality outdoor living spaces offer a high Return on Investment (ROI). A roofed kitchen is considered an “outdoor room,” which adds functional square footage to the home and is a major selling point for premium buyers.
At Greater Boston Contractors, we specialize in luxury outdoor living environments that blend structural integrity with high-end design. Whether you are dreaming of a cozy poolside pavilion or an expansive attached kitchen for summer hosting, our team handles everything from structural engineering to the final appliance installation. Let us help you extend your home’s footprint—contact us today for a consultation.