Pressure-treated lumber is an essential building material for decks, fences, and porches because of its resistance to rot and insects. While its natural greenish or brownish hue is durable, many homeowners prefer to paint it to match their home’s aesthetic.
The short answer is yes, you can paint treated lumber, but the process is unique and requires meticulous timing. Skipping the essential drying phase is the single most common mistake that leads to peeling and costly re-work.
At Greater Boston Contractors, we ensure that every outdoor surface is prepped correctly for a lasting finish. Here is our expert advice on painting treated lumber.
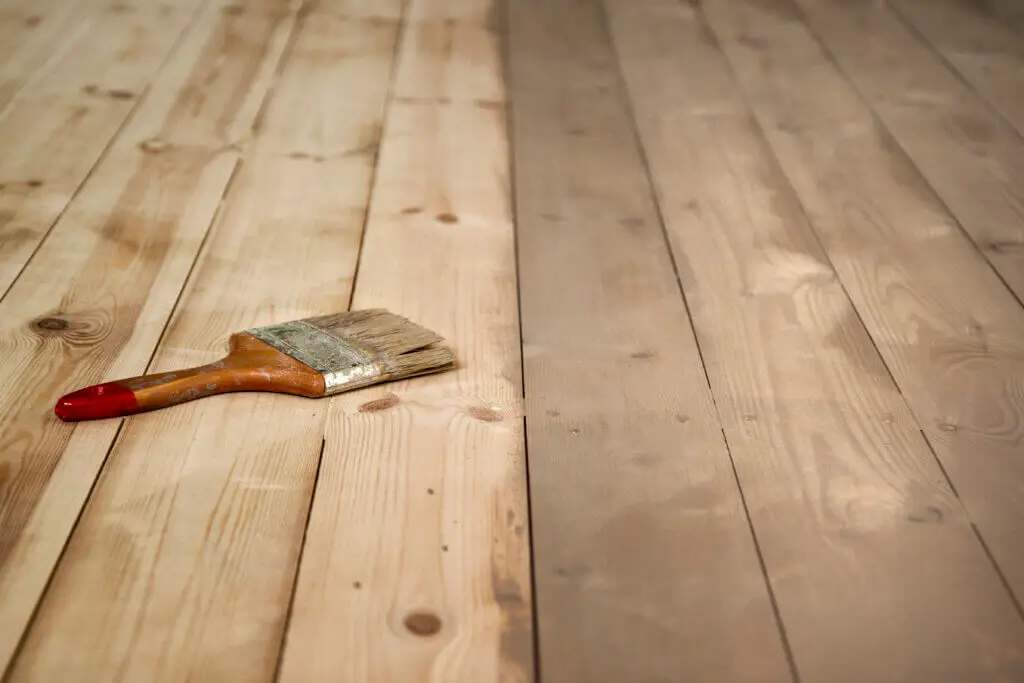
Can Treated Lumber Be Painted?
Yes, treated lumber takes paint well, provided you account for the chemical process used during its manufacture.
Yes—But Only After It Dries Fully
Pressure-treated wood is preserved by forcing chemical preservatives into the wood fibers under high pressure. This process leaves the wood highly saturated with moisture. Attempting to paint over this moisture barrier will trap the water inside.
Moisture Content Affects Adhesion
Paint adheres best to a dry, porous surface. If the wood’s moisture content is too high (above 15%), the paint cannot soak in or bond properly to the fibers.
Risks of Premature Painting (Peeling, Bubbling)
If you paint before the wood is fully dry, the trapped moisture will eventually try to escape, causing the paint film to fail. This results in unsightly peeling, bubbling, and premature cracking, often requiring a complete stripping and repainting job.
How Long Should You Wait Before Painting?
The waiting period is the most critical part of the process and depends entirely on environmental conditions and the type of wood.
Typical Drying Time: Weeks to Months
In a sheltered, dry environment, treated wood may be ready to paint in as little as four to six weeks. However, in the humid and variable New England climate, or if the wood is exposed to rain, the drying time can easily extend to two to six months. It’s safest to wait until the wood has experienced one full season of open air drying before painting.
How to Test if Lumber Is Ready (Bead Test)
Do not guess. You can easily test the readiness of your lumber using the bead test (or sprinkle test):
- Sprinkle a few drops of water onto the surface of the treated wood.
- If the water beads up and sits on the surface, the wood is still too wet to paint.
- If the water is quickly absorbed into the wood, it is dry enough to accept primer and paint.
Pressure-Treated vs. Kiln-Dried
Many modern lumber yards now offer Kiln-Dried After Treatment (KDAT) lumber. KDAT wood is specifically dried in an oven after the chemical treatment. This wood is ready to paint or stain immediately, saving weeks or months of waiting time, though it comes at a higher initial cost.
How to Paint Treated Wood Properly
Once you’ve confirmed the wood is dry using the bead test, follow this four-step process for a durable finish:
Step 1: Clean the Surface
Use a dedicated deck cleaner or a solution of mild detergent and water to scrub the wood. This removes dirt, mold, mildew, and any residual chemical salts that have leached out during the drying process. Rinse thoroughly and allow the wood to dry again (usually 1–2 days) before priming.
Step 2: Let Wood Dry Completely
Reconfirm the dryness using the bead test before proceeding.
Step 3: Apply Exterior Wood Primer
Primer is essential because it acts as a sealant and a bonding agent. Use a high-quality, oil-based or acrylic latex exterior wood primer. A thin, even coat ensures excellent adhesion for the topcoat and helps prevent tannins in the wood from bleeding through the final paint color.
Step 4: Use High-Quality Exterior Paint
Apply two thin coats of 100% acrylic latex exterior paint. Acrylic latex is flexible, durable, and handles the expansion and contraction of wood better than less-flexible oil-based paints. A semi-gloss or satin finish is often recommended for treated wood for easier cleaning and better weather resistance.
Alternatives to Painting Treated Lumber
If the long drying time or ongoing maintenance of paint is a concern, consider these alternatives:
Staining
Stain is often preferred for treated wood, particularly for decking. Unlike paint, stain penetrates the wood fibers rather than sitting on the surface, allowing the wood to breathe and minimizing peeling risk. Stains come in semi-transparent, semi-solid, and solid varieties.
Water-Repellent Sealers
Clear water-repellent sealers offer protection against moisture damage without changing the wood’s color dramatically. This is a low-maintenance option that still guards against warping and cracking.
Leaving It Natural for Rustic Look
Some homeowners opt to leave the wood natural, allowing it to slowly fade to a natural silver or gray color. This is the lowest maintenance choice, relying solely on the protective chemicals in the wood.
FAQs
“Is staining better than painting?”
Staining is generally better for treated wood decks. Because stain is absorbed by the wood, it resists peeling far better than paint, which sits on the surface. Paint is usually reserved for railings, fences, and vertical surfaces where you want a solid color that matches the house trim.
“What happens if I paint too soon?”
The moisture trapped under the paint will eventually force its way out, leading to large patches of bubbling, blistering, and peeling paint. This failure often occurs within the first year and requires extensive and costly stripping before the wood can be painted correctly.
“Can I paint pressure-treated decking?”
Yes, but most contractors recommend stain for the horizontal decking surface because it deals better with heavy foot traffic, UV exposure, and moisture pooling than paint does. If you choose paint, it must be exterior deck-specific paint applied to fully dried wood.
Need expert advice on prepping and finishing your new deck or porch to ensure a lasting finish?
Contact Greater Boston Contractors today for professional painting and staining services that withstand the New England weather!