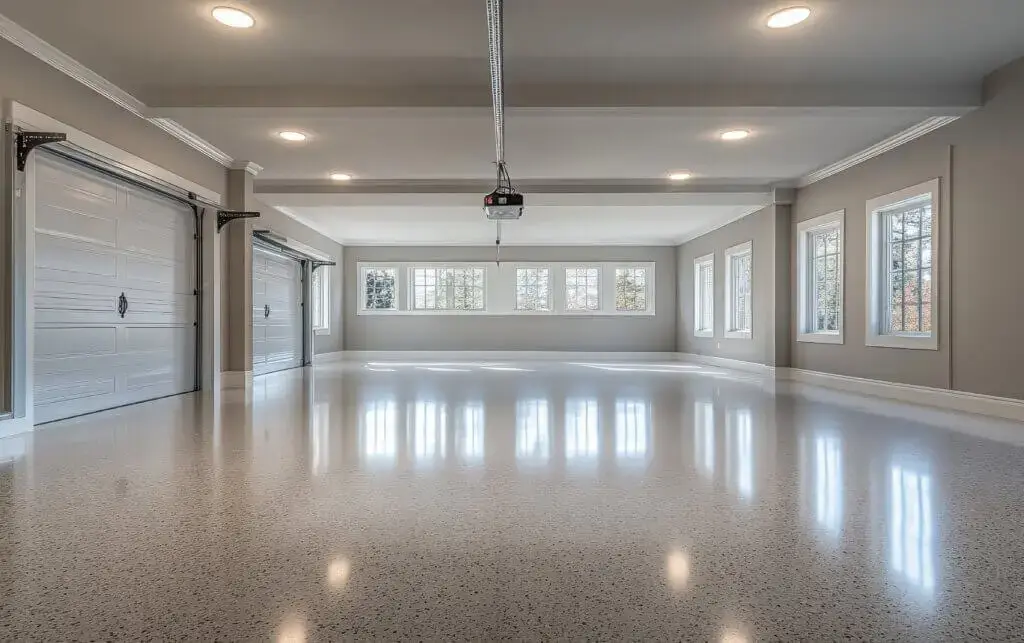
Coating a garage floor with a professional-grade epoxy system is a great way to create a durable, stain-resistant, and beautiful surface. While this guide provides the necessary steps for a successful application, keep in mind that the process requires meticulous attention to detail and professional equipment.
Tools, Materials & Safety
The success of your epoxy floor is heavily dependent on using the right tools and materials. You’ll need more than just a roller and a paint tray.
PPE, Rollers, Squeegees, Mixers
- Personal Protective Equipment (PPE): This is non-negotiable. Wear a respirator with organic vapor cartridges, safety goggles, and chemical-resistant gloves. Epoxy fumes can be harmful.
- Rollers: Use a high-quality, lint-free, solvent-resistant roller with a 3/8-inch nap. You’ll need multiple rollers.
- Squeegees: A notched squeegee is essential for spreading the epoxy evenly across the floor.
- Mixers: A jiffy mixer attachment for a drill is a must-have for properly blending the two parts of the epoxy.
Temperature and Humidity Ranges
Epoxy is sensitive to environmental conditions. Check the product specifications for the ideal temperature and humidity range, usually around 50-80°F (10-27°C) with low humidity. Applying epoxy outside of this range can cause it to cure improperly, leading to a weak and peeling finish.
Surface Preparation
This is the single most important step in the entire process. If the concrete is not prepped correctly, the coating will fail.
Degrease, Patch, Grind or Etch
- Degrease: Thoroughly clean the entire floor to remove any oil, grease, or dirt. Use a strong degreaser and a floor scrubber.
- Patch: Repair any cracks, divots, or spalling with a two-part concrete repair product.
- Grind or Etch: The goal is to create a porous surface for the epoxy to bond to. Diamond grinding is the professional standard and provides the best profile. As a DIY alternative, you can use an acid etching solution, but it is less effective and requires a thorough neutralization and rinse.
Moisture Test and Primer
Perform a moisture test to ensure no water vapor is rising through the concrete, which will cause the epoxy to delaminate. The easiest way is to tape a square of plastic sheeting to the floor and check for condensation after 24 hours. A professional-grade primer is critical for ensuring maximum adhesion and preventing bubbles from rising through the coating.
Mixing & Applying Epoxy
Once the floor is prepped, you’ll need to work quickly and efficiently.
Pot Life and Batch Planning
Pot life is the amount of time you have to apply the epoxy once the two parts are mixed before it begins to harden. This is typically only about 30-45 minutes. You must plan your application in small batches, only mixing as much as you can apply within that timeframe.
Roll, Back-Roll, and Broadcast Flakes
Pour the mixed epoxy in a line across the floor and use the notched squeegee to spread it evenly. Immediately follow with a roller to smooth it out. Back-rolling is the process of lightly rolling over the newly applied epoxy to ensure an even thickness and remove roller marks. If you are using decorative flakes, broadcast them by throwing them into the wet epoxy so they land randomly.
Topcoat & Cure
After the epoxy has cured, a topcoat is applied to provide a final layer of protection and shine.
Urethane or Polyaspartic Topcoats
While some epoxy kits come with a compatible topcoat, a polyaspartic or urethane topcoat is often recommended for superior durability and UV resistance. They are tougher, more flexible, and will not yellow from sunlight exposure, which keeps your floor looking new for longer.
Foot, Light, and Vehicle Traffic Timing
- Foot Traffic: You can typically walk on a new epoxy floor within 24 hours.
- Light Traffic: It’s best to wait 48-72 hours before placing light objects on the floor.
- Vehicle Traffic: You must wait 5-7 days for the epoxy to fully cure before parking a vehicle on it.
FAQs
Can I Epoxy Over Old Paint?
No. Any previous coating, including old paint, must be completely removed. Applying epoxy over an existing coating is a surefire way for the new layer to peel and fail. The new epoxy needs to bond directly with the concrete.
What if the Floor Sweats?
This is caused by a moisture problem in the concrete and is the number one cause of floor coating failure. If you fail the moisture test, the problem must be resolved before any coating is applied. This may involve professional-grade moisture mitigation systems that a DIY kit cannot address.
Considering a professional-grade epoxy floor? Greater Boston Contractors provides expert garage floor coating services with a focus on meticulous preparation to ensure a flawless and durable finish.
Contact us today for a free consultation and transform your garage floor.